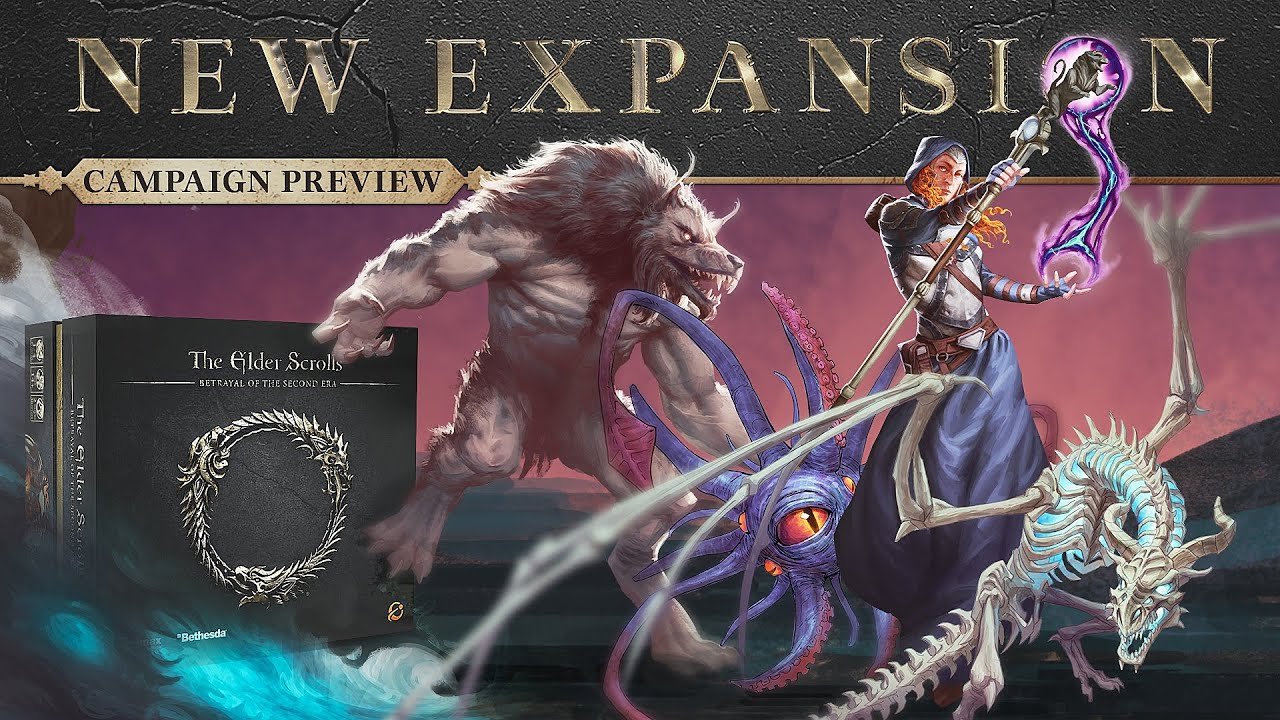
Speech Skill Line Explained • The Elder Scrolls Betrayal of the Second Era
In this video, I break down how the Speech skill line works in The Elder Scrolls: Betrayal of the Second Era. I go over each of the dice, explain how they work, and highlight common rules on how to play them correctly and efficiently. Whether you’re considering building around it or just want to better understand its utility, this guide should help clarify how the skill line functions at the table.