Blog

A home for my most in-depth game guides and written takes, all focused on the board games I genuinely enjoy.

Later Ctrl + ↑

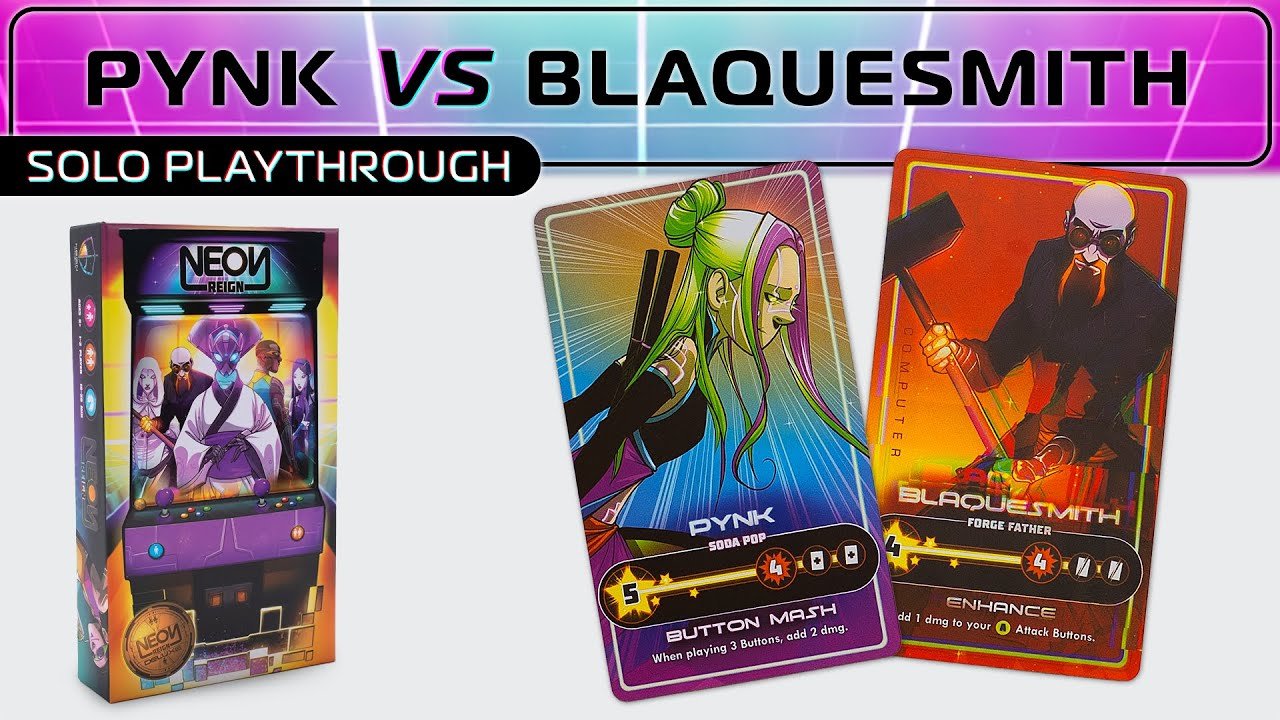
Blaquesmith vs Tobo • Neon Reign

In this solo playthrough, I’m playing Blaquesmith against Tobo on hard mode. I’ve been really enjoying the variety in Neon Reign, and this time I wanted to try a more combo-heavy build that leans into chip placement and star abilities. Blaquesmith has a really interesting balance of support and direct pressure, while Tobo is one of the more unpredictable CPU opponents, which made this match-up feel anything but routine.

The fight turned out to be surprisingly tight. There were a few key rounds where I had to make some risky calls, and I definitely had to rely on timing my star abilities just right. It wasn’t a perfect run, but that made it more fun to play – and hopefully more fun to watch too. If you’re curious about how Blaquesmith handles solo against one of the tougher CPU decks, this one’s a good showcase.

 22   7 mo   Neon Reign   Playthroughs

Necromancer Class Guide • The Elder Scrolls: Betrayal of the Second Era

Necromancer is one of the most unique classes in the game thanks to its second resource system, the Necrosis Stack. Managing when to gain Necrosis and when to spend it on your abilities turns into this really satisfying little mini-game that runs alongside the main loop. It adds an extra layer of decision-making that I genuinely enjoy. Boneyard is one of my favourites – it completely ignores enemy defence, which makes it way stronger than it might look at first glance. I feel like that one’s still kind of underrated.

But of course, the absolute highlight of this class is Spiritual Guardian. Once summoned, it can persist between battles, and that changes everything. It’s not just a summon you throw away for a single encounter – it sticks around, supports you, and honestly just makes the class feel alive in a really cool way. In the video, I go over every ability on both sides of the class sheet, walk through my solo build, and show how to set things up to keep your Guardian active as long as possible. There’s also a full gameplay demo so you can see how this all plays out in action.

 94   7 mo   Class guides   TES: BotSE

Bow Explained • The Elder Scrolls: Betrayal of the Second Era

Bow is one of the most consistent damage-dealing skill lines in the game. It gives you several solid options depending on how you want to build it. You can go for high burst damage by doubling up on Rapid Fire, or you can lean into a reroll-heavy build with Arrow Barrage, just like I did with the Bard. And then there’s Scatter Shot, which is easily one of the best dice in the entire line. It effectively doubles your damage output by letting you hit two targets at once, and more importantly, it gives you a way to bypass Shatter by not targeting the enemy directly. That interaction alone makes it incredibly useful.

In this video, I go through each of the Bow skill dice, from level one to level four, and explain how they work in practice. I share which dice I think are worth doubling up on, what to combine them with, and how to make the most of Bow’s strengths depending on your class. Whether you’re looking for reliable single-target damage or a bit of clever positioning to exploit area effects, Bow has a toolkit that’s both flexible and dependable.

 29   7 mo   Skill lines explained   TES: BotSE

Acrobat Class Guide • The Elder Scrolls: Betrayal of the Second Era

Acrobat is one of the strongest and most flexible classes in the game. You get mobility that completely changes how you play — you can move through enemies, jump straight onto caches, and reposition yourself freely during battles and delves. But there’s more to it than just movement. The class gives you built-in recovery, some of the best damage mitigation tools in the game, and regular access to Fear, which completely shuts down enemy skills. Whether it’s Stalwart, Necromancy, or Shatter, Acrobat has answers. It’s a class that’s easy to underestimate until you actually play it.

In the video, I go through every Acrobat ability on both the novice and master side, explain what makes each one strong, and talk through the race options, stat layout, and skill lines I used for this solo build. There’s also a solo gameplay demo at the end where I put the build to the test, and honestly, it held up even better than I expected.

 57   8 mo   Class guides   TES: BotSE

Deluxe Components Review: Are They Worth It? • The Elder Scrolls: Betrayal of the Second Era

The Elder Scrolls: Betrayal of the Second Era was my first Chip Theory game. When I was deciding whether to get any of the deluxe upgrades, I tried to find some proper hands-on impressions. Maybe they were out there, but I couldn’t find anything that actually showed what the components were like in use or helped me make a decision either way. After more than 200 hours of playing, I figured I’d just make that kind of review myself to help other folks make a better decision.

In the video, I go through each deluxe upgrade, which includes the premium health chips, deluxe draw bags, the blacksmith pack, as well as the dice tray and the playmat. I share my honest thoughts on what feels worthwhile, what’s purely cosmetic, and what ended up improving the experience more than I expected. I show how each one looks and try to give a clear sense of whether they actually add value depending on how you play.

 43   8 mo   Reviews   TES: BotSE

Spellsword Class Guide • The Elder Scrolls: Betrayal of the Second Era

Spellsword is probably the most unique class in the game – and honestly, maybe the strongest too. The fact that you can just resolve any effect from your skill dice without even rolling them is kind of ridiculous. No randomness, no hoping for the right face, just pure control. It completely changes how you build and play, and once you get used to it, it’s hard to go back. But beyond that, the rest of the kit is also excellent. Everything feels really cohesive and thematic, and there’s a lot of room to experiment depending on what kind of playstyle you’re after.

In this video, I go over every Spellsword ability, show what changes when you promote to the master side, and walk through a full build that leans hard into that resolve mechanic. I also talk through race picks, skill line choices, item synergies, and show exactly how I set up my stats. Toward the end, there’s a full solo gameplay demo so you can see how it all comes together – and how consistent this class can be even in some of the tougher encounters.

 58   8 mo   Class guides   TES: BotSE

Every Enemy Skill Explained • The Elder Scrolls: Betrayal of the Second Era

Enemy skills in The Elder Scrolls: Betrayal of the Second Era can be deceptively simple on the surface, but a lot of them have tricky timing or edge cases that can easily trip you up. I made this video because I kept seeing the same confusion come up during my own games, especially around things like Bane, Fear, or Stalwart. Some of these skills are much more brutal in solo than in a group, and others just have odd little rules that aren’t obvious until you’ve had to deal with them mid-battle.

In the video, I go through every enemy skill currently in the game, one by one, and explain how they actually work. I give examples where it makes sense, clarify things like when the effect triggers, and share a few of my own impressions from playing against them. This isn’t a strategy guide – it’s more of a reference video for understanding what these effects really do, especially if you’re still learning the game or just want to double-check a specific rule.

 101   8 mo   Beginner's Guide   TES: BotSE

Bard Class Guide • The Elder Scrolls: Betrayal of the Second Era

Bard is one of those classes that quietly stacks the deck in your favour without drawing too much attention. It’s not the flashiest in terms of raw damage, but its support abilities can shift the entire flow of a battle. The real star here, though, is the innate ability – rerolling any one die once per turn is so useful in so many situations. It gives you so much consistency, whether playing in a party or solo. For this build, I leaned fully into that reroll potential and ended up with something that felt a little bit busted, in the best possible way. Let’s just say things got silly – in a good way.

In the video, I walk through every Bard ability, explain what changes when you upgrade to the master side, and then build out a full reroll-heavy solo setup. I show how I place my stat tokens, which skill lines I prioritise (with some very specific combos in mind), and how I squeeze the most value out of Bard’s dice manipulation. There’s a full solo gameplay demo at the end too, where you’ll see just how far you can push this build when everything clicks.

 62   9 mo   Class guides   TES: BotSE

Every Racial Ability Ranked • The Elder Scrolls: Betrayal of the Second Era

I wanted to rank every racial ability in The Elder Scrolls: Betrayal of the Second Era based on actual gameplay experience, not just theory. I’ve played all the races in both solo and group campaigns, and this list reflects what I’ve consistently found useful (or not) across dozens of sessions. Some abilities are clearly stronger in solo, while others shine more in co-op. There’s a mix of power level, consistency, and how often the ability actually triggers in real games. This isn’t about lore or flavour – just raw mechanical impact.

In the video, I go through all ten races and place them in loose tiers from bottom to top, explaining why each one landed where it did. I talk through the practical strengths and weaknesses of each racial ability, and how they interact with things like battle forms, skill dice, cooldown management, and item synergies. This ranking is based on the base game only, without any expansion races, and with a heavy lean toward solo play – though I do point out where a race gets significantly better in a group.

 94   9 mo   TES: BotSE   Tier lists

Dragonknight Class Guide • The Elder Scrolls: Betrayal of the Second Era

Dragonknight is a pretty straightforward, beginner-friendly class with a mix of offence and utility. You’ve got strong physical damage, a few helpful party-wide abilities, and some nice synergy if you know what to look for. One of my favourite tools here is Molten Weapons, especially if you’re lucky enough to find a Claymore of the Crucible – turning all your combat dice into true damage and spreading it around is just ridiculous. Dragon Blood is also amazing, probably one of the best party utility abilities in the game, letting you clean up over fatigue on the fly, which completely changes how you approach certain risks.

In this video, I go through all the Dragonknight abilities, compare the novice and master sides, and explain why you might not want to rush the upgrade unless the situation lines up. I also cover race picks, my full stat placement, what skill lines I prefer, and the best item synergies to look out for. Near the end, there’s a solo gameplay demo so you can see how the build works in action, including some nice moments where Cleave wipes a whole group and Executioner deals with a stalwart enemy in one shot.

 35   9 mo   Class guides   TES: BotSE
Earlier Ctrl + ↓
© Daniel Sokolovskiy, 2026
Powered by Aegea